SPEEDRAIL FP1 T3
| Quantity | Price per item | Discount |
| 2 items | AUD$ 340.00 | 4% off |
| 6 items | AUD$ 330.00 | 7% off |
| 24 items | AUD$ 322.50 | 9% off |
| 48 items | AUD$ 317.50 | 11% off |
| 96 items | AUD$ 315.00 | 11% off |
- Allows All Fireone 32 Cue Field Modules to use Pluggable Ignitors.
- Allows up to 8 RX4 Cue Extenders to be connected via 8-Way Ethernet Cables
- No SCSI Cables, No Tools Required.
- Fireone Module Slides Straight In.
- Speedrail slides onto Pyrolamas Racks attaches to Lighting Rigs or Mortar Racks
- Faster Set Up & Pull Down Times
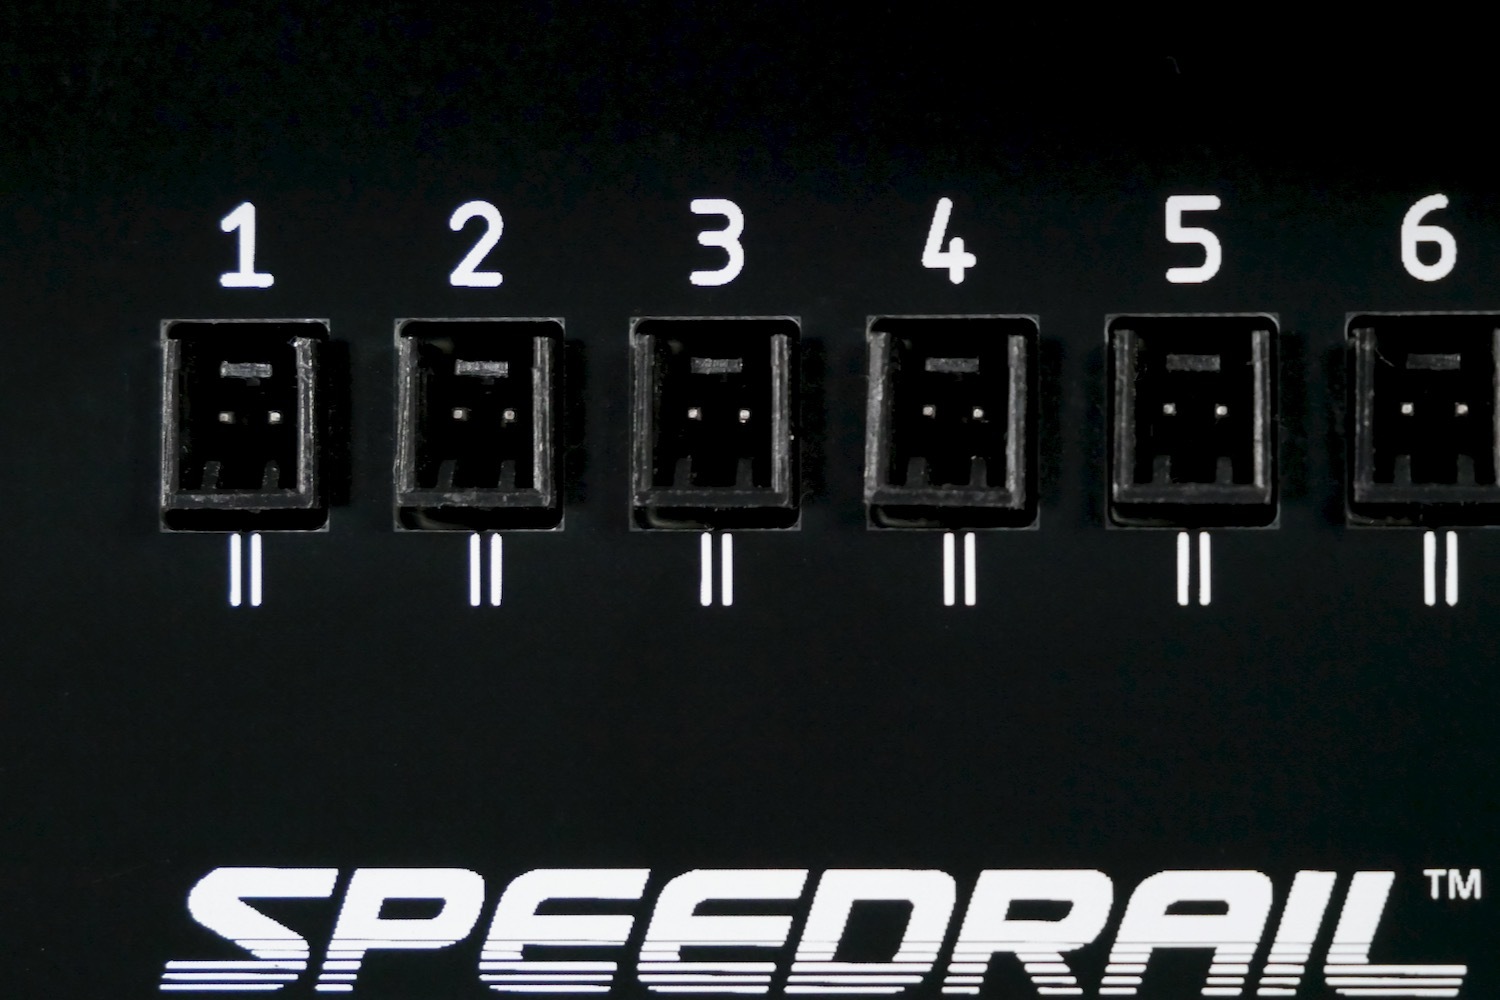 |
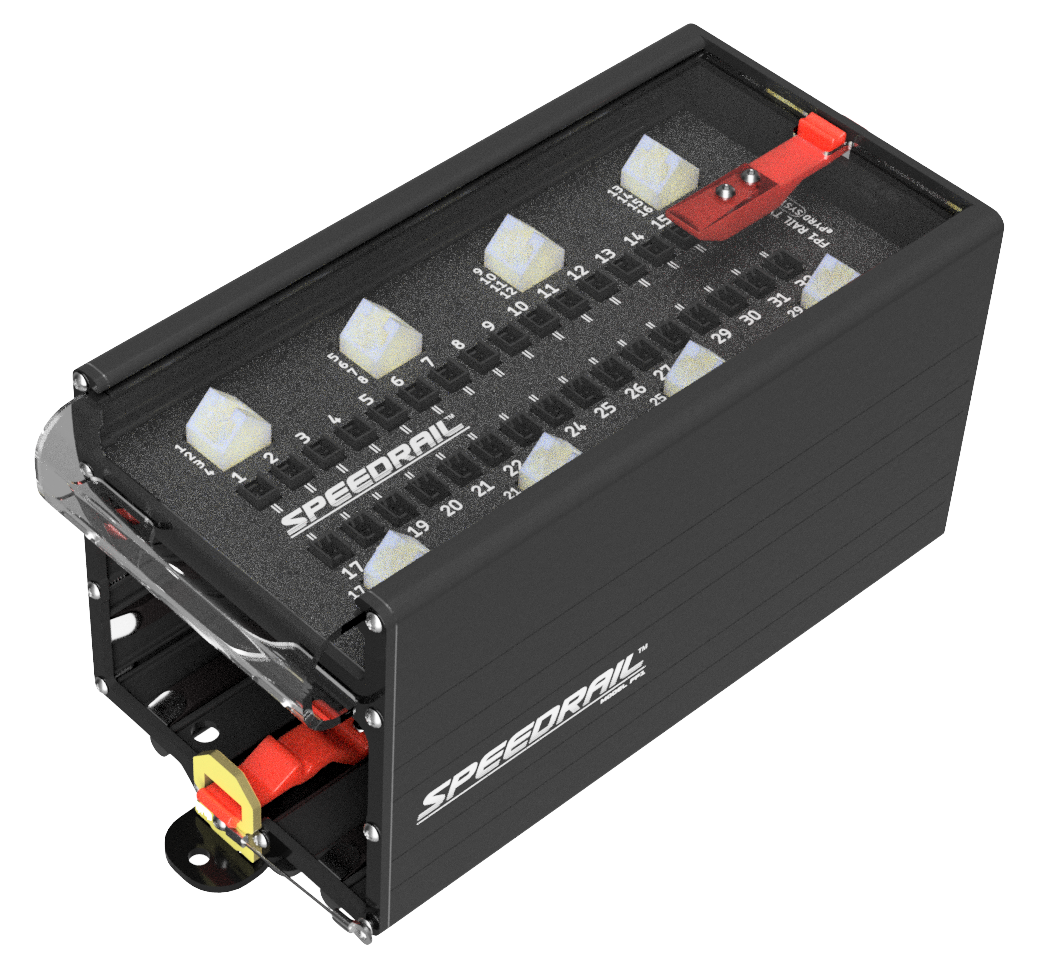
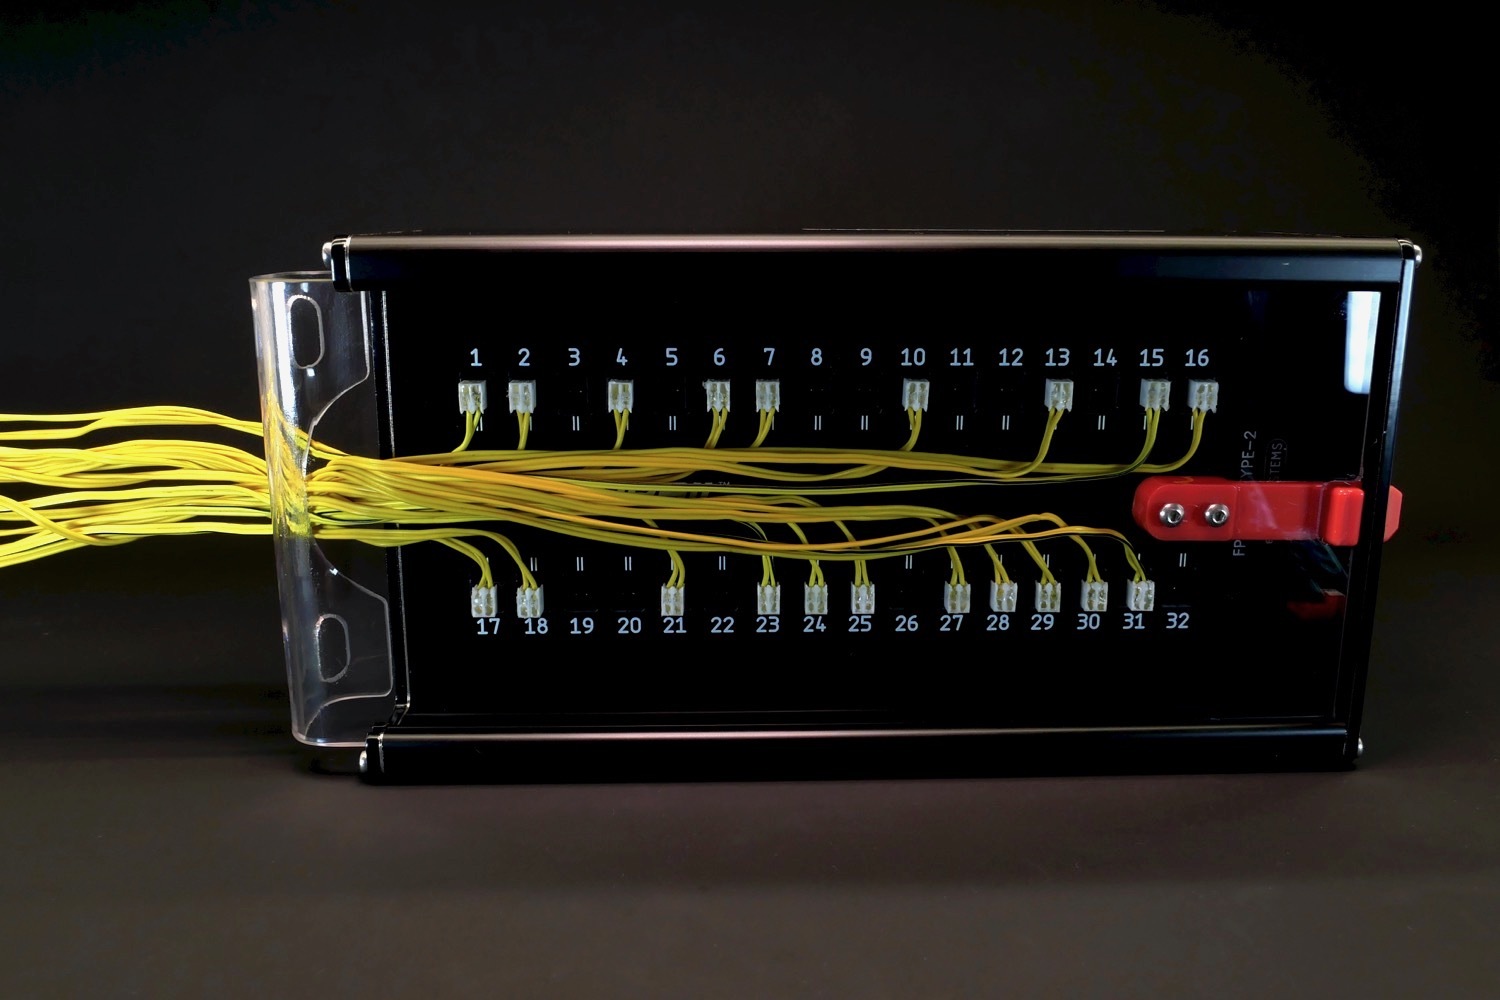
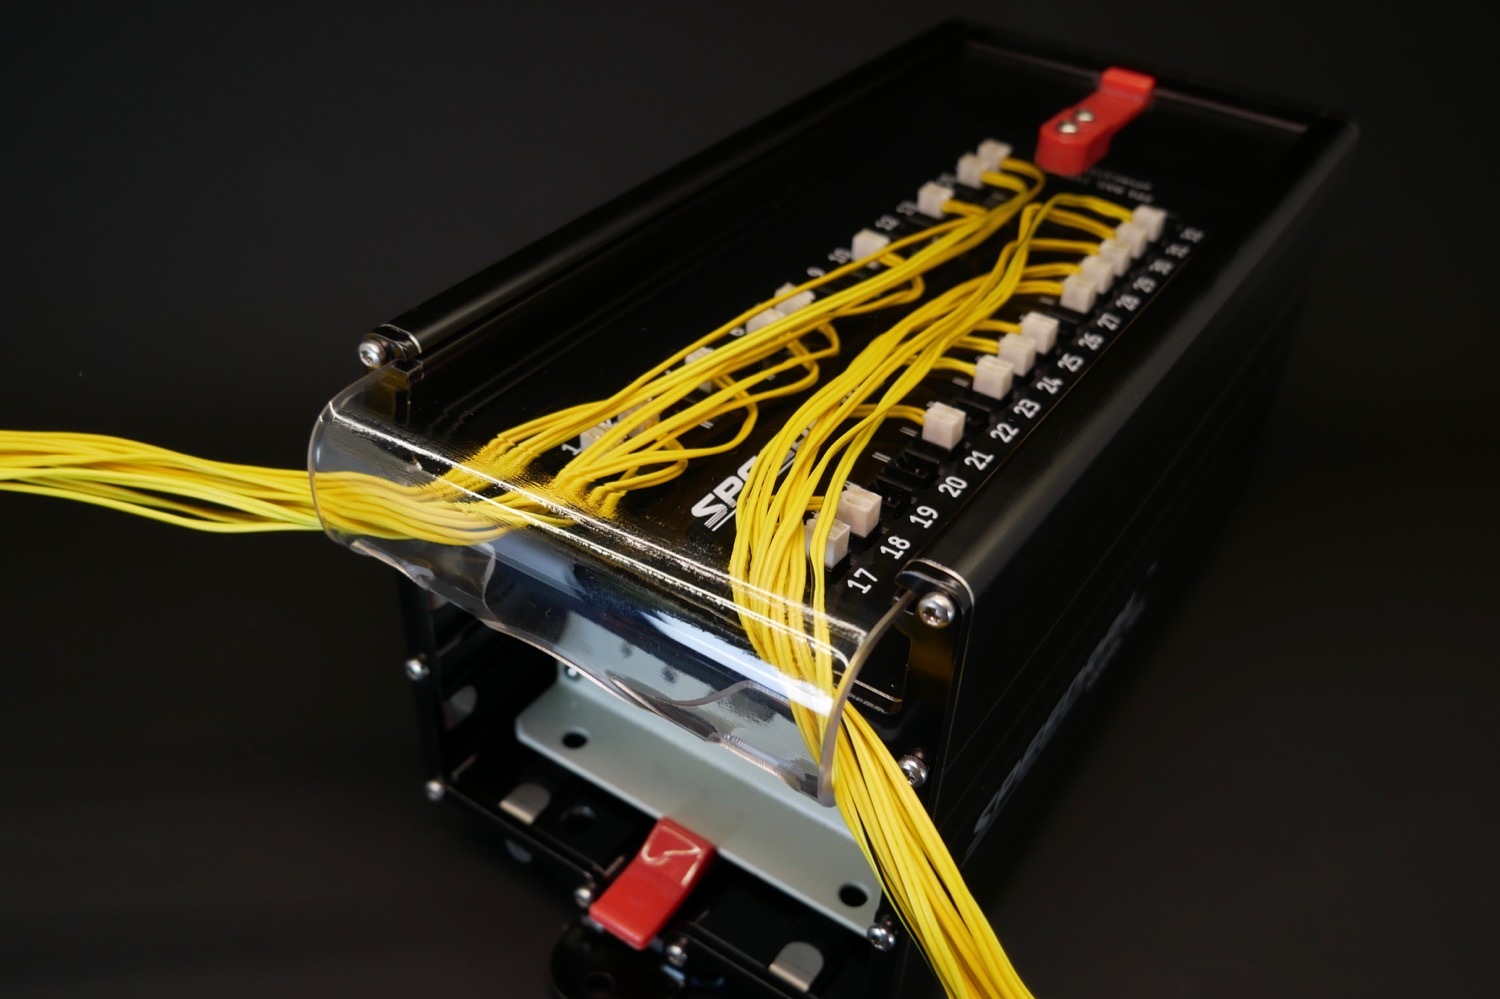
Take advantageof Pluggable Igniters for much faster setup and pulldowns and reduced labour by utilising Pluggable Ignitors. The main panel consists of 32 x 2-Pin Connectors which you can easily plug in your ignitors. Each output is clearly marked with shot number and wire orientation. There is plenty of room between shots for easy access. |
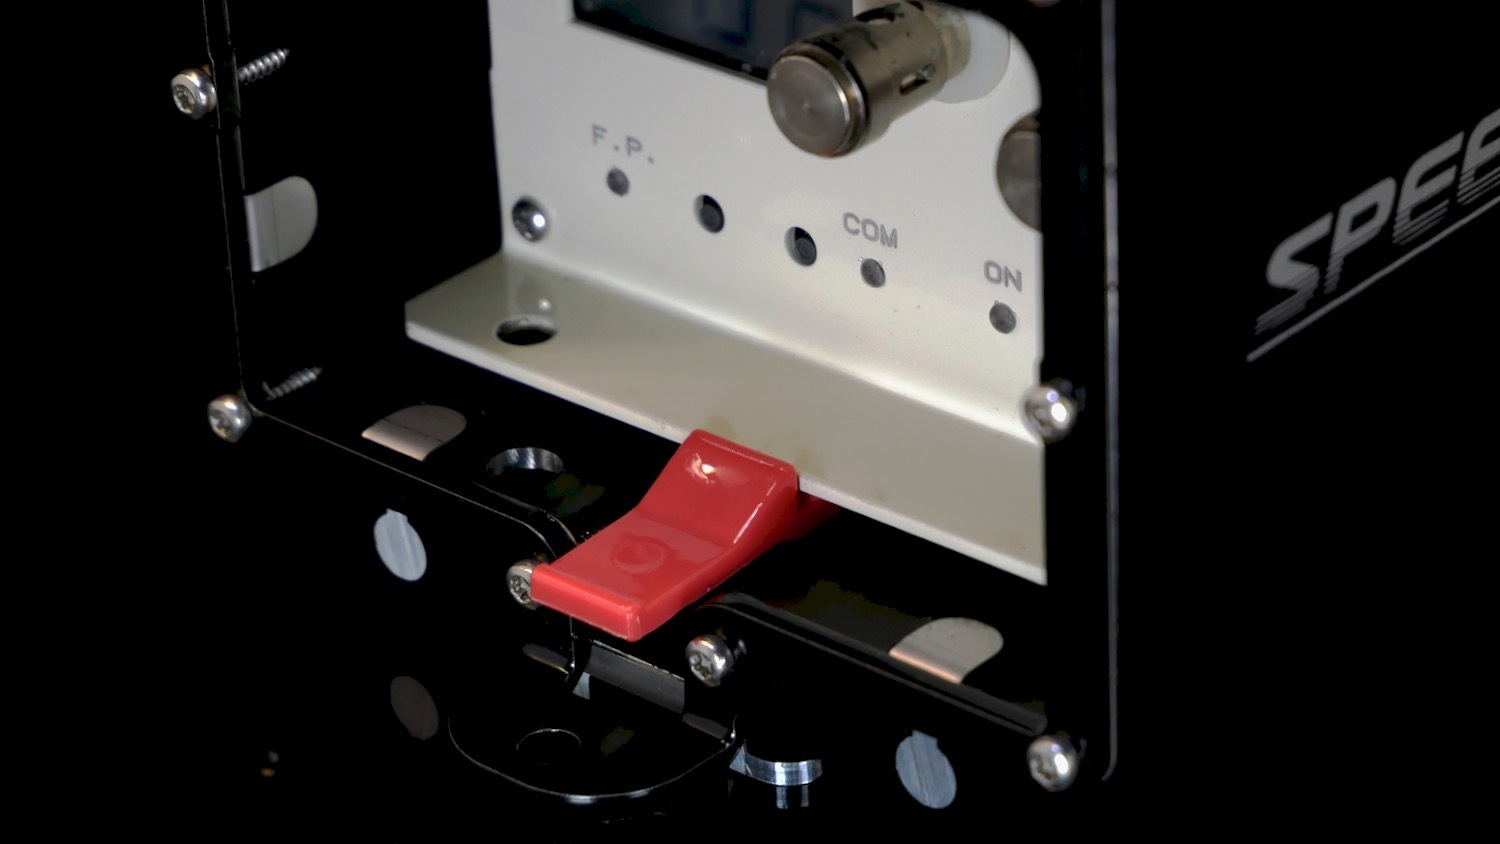
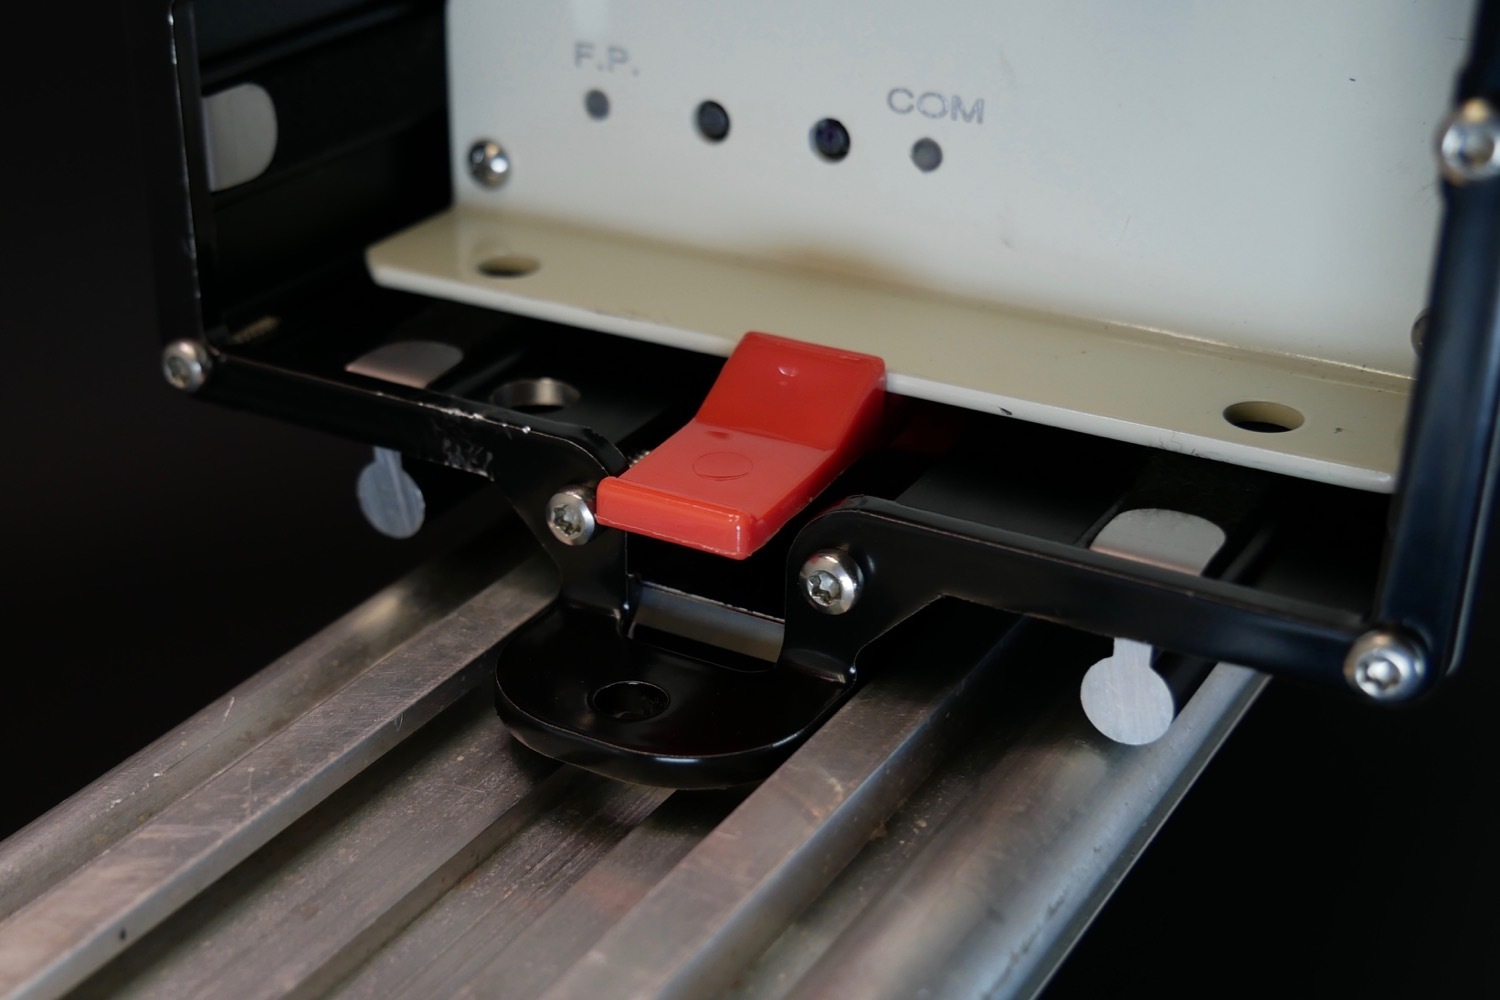
One-Click module insertionA key feature of the Speedrail is to allow insertion of a Fireone module (2- Wire or Wireless). Simply slide in a Fireone module into the front of the unit and push all the way until it “clicks” past the nylon front latch. This ensures that the module if fully connected to the internal rear SCSI connector. To remove simply hold down the latch and pull the module out using the 2-Wire binding post. Speedrail is the fastest way to attach a Fireone module to a rail! |
 |
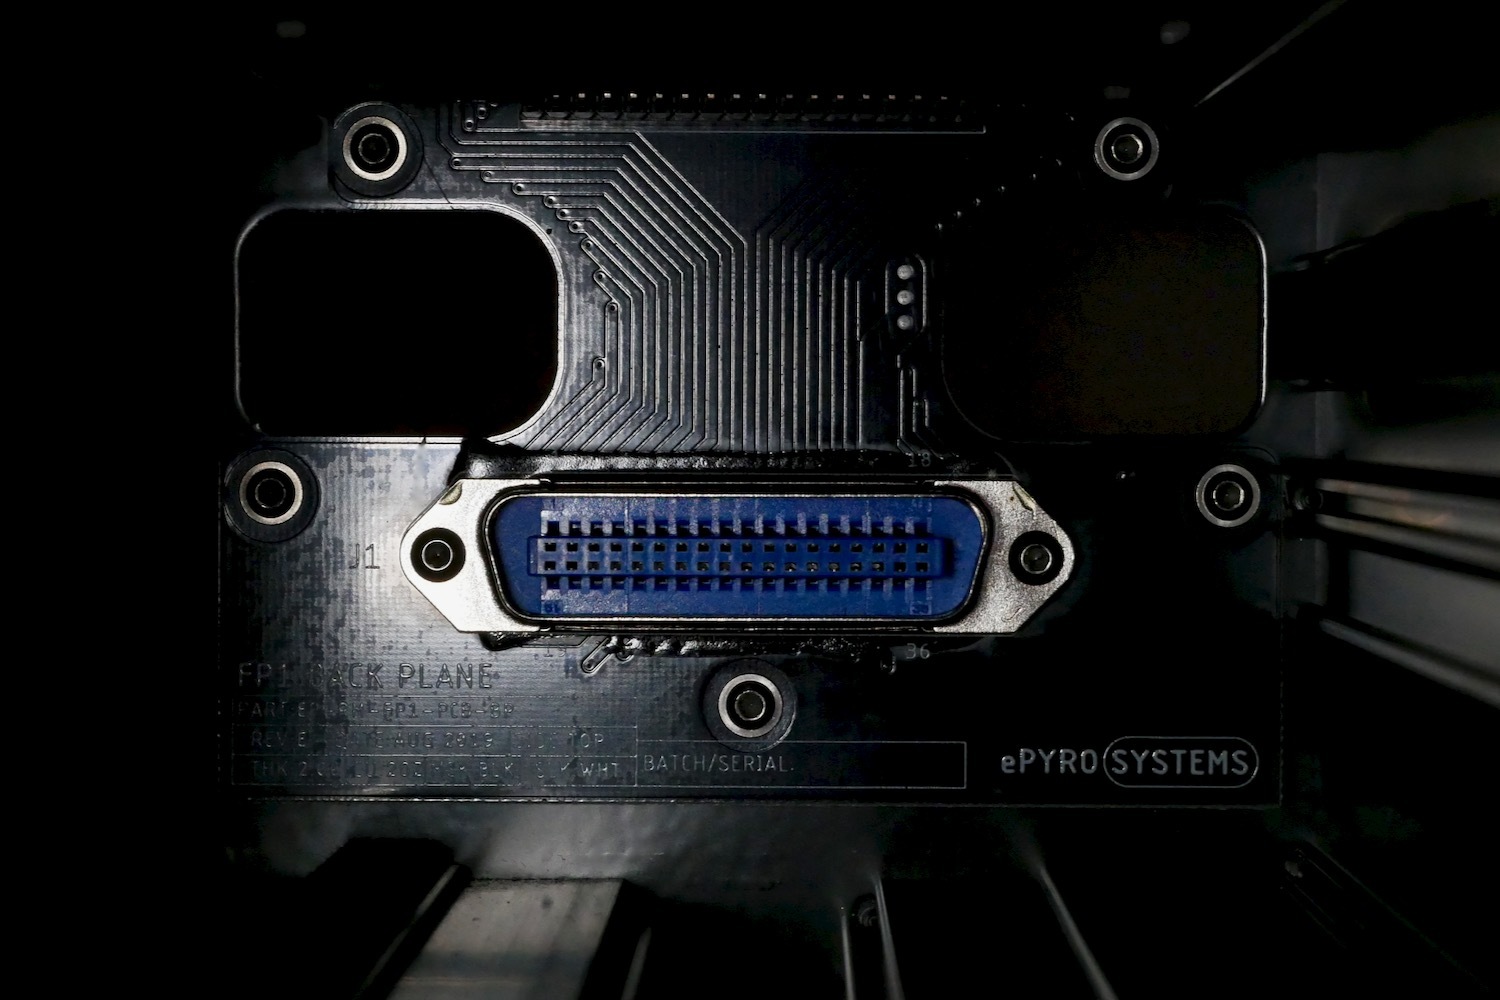 |
No SCSI cablesWhen you slide in the Fireone Module it will connect straight into the rear SCSI / Centronics connector directly. The back PCB will self align with the module as it makes connection. Simply remove the fireone module by pushing down on the Front Latch and pulling it out by one of the 2-wire binding posts. No more fiddly cables to deal with! No More Faulty Connections to to Ribbon Cables! |
Unique designThe Speedrail is made from a Custom Designed Aluminium Extruded piece which is extremely strong and durable, There are no Steel parts in the Speedrail, All fasteners are Stainless Steel, The end plates are 3mm Thick Black Powder Coated Aluminium, and are attached with Torx T10 Stainless Steel Screws. The user can disassemble and make repairs or upgrades easily. The Speedrail has a registered design certificate. |
 |
 |
Slides onto Pyrolamas railsThe unique extrusion design allow the Speedrail to easily attach and slide onto a Pyrolamas rail system. The Speedrail unit can be placed anywhere on top or even below the Pyrolamas including arch set-ups. There are mounting holes to add safety/locking pins if you wish. |
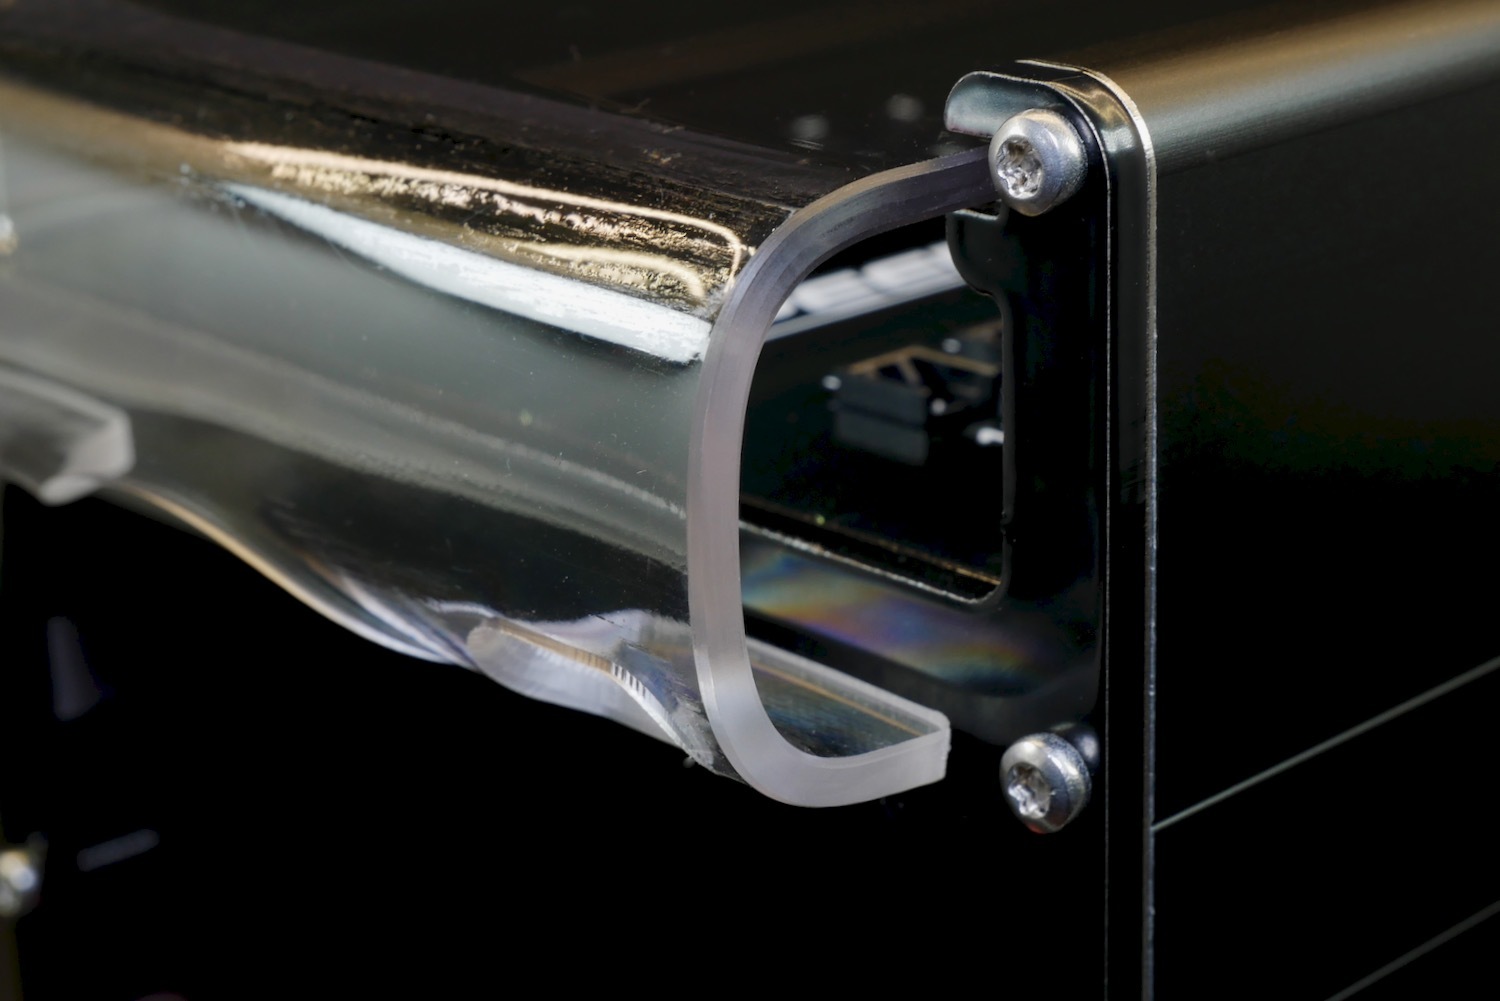
Sliding lidTo access the connectors, just press down on the red nylon back latch and slide the transparent lid out the way, you can completely remove it it you wish, The lid is unbreakable PETG/UV Stabilised and Flame Retardant. The rear latch will snap firmly into place when you slide the lid back in place. |
 |
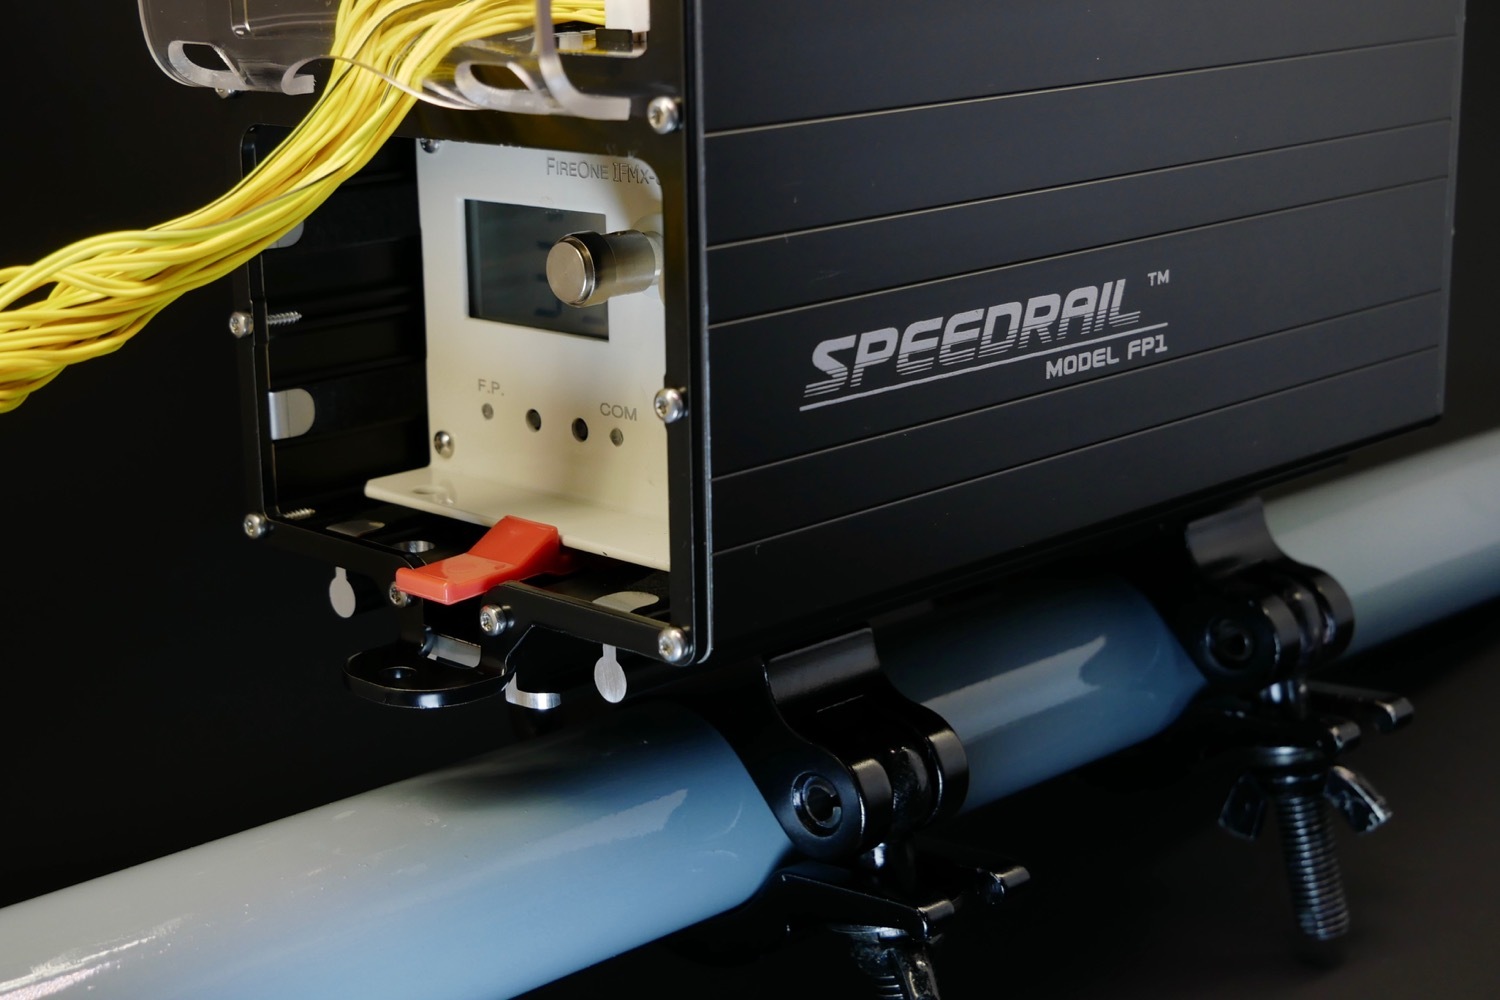 |
Truss clamp mounting holesAlong the bottom of the Speedrail there are 3 x M10 holes to allow for one or more standard truss clamps to be attached. The internal channel allows a standard M10 locknut to be held in and tightened without using any tools internally. Just a Allen key is usually required for the bolt on the outside. There is a hole on the front of the unit for a safety cable to be attached. |
Rear openingOn the rear of the Speedrail there is an opening to allow for a Wireless Fireone Module. You have access to the power switch and led indicators at the back of the Fireone Module as well. There is ample space for the antenna or an antenna lead to pass through. On the back of the Back PCB and the Connector PCB there are Neoprene fire retardant coverings to protect the circuitry. |
 |
 |
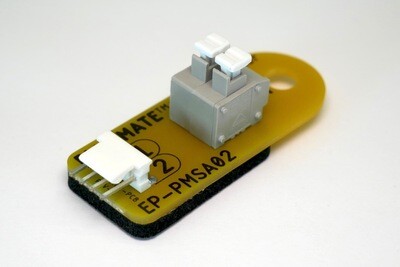
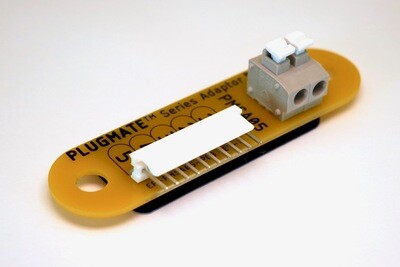
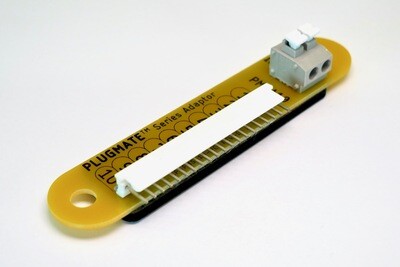
Faster set-upsThe Most important feature of the Speedrail is to take advantage of much faster setups and pulldowns and reduced labour by utilising Pluggable Ignitors. Set up times can be reduced as much as 75%! You can also use any of the PLUGMATE Series Adaptors to provided more cues. |
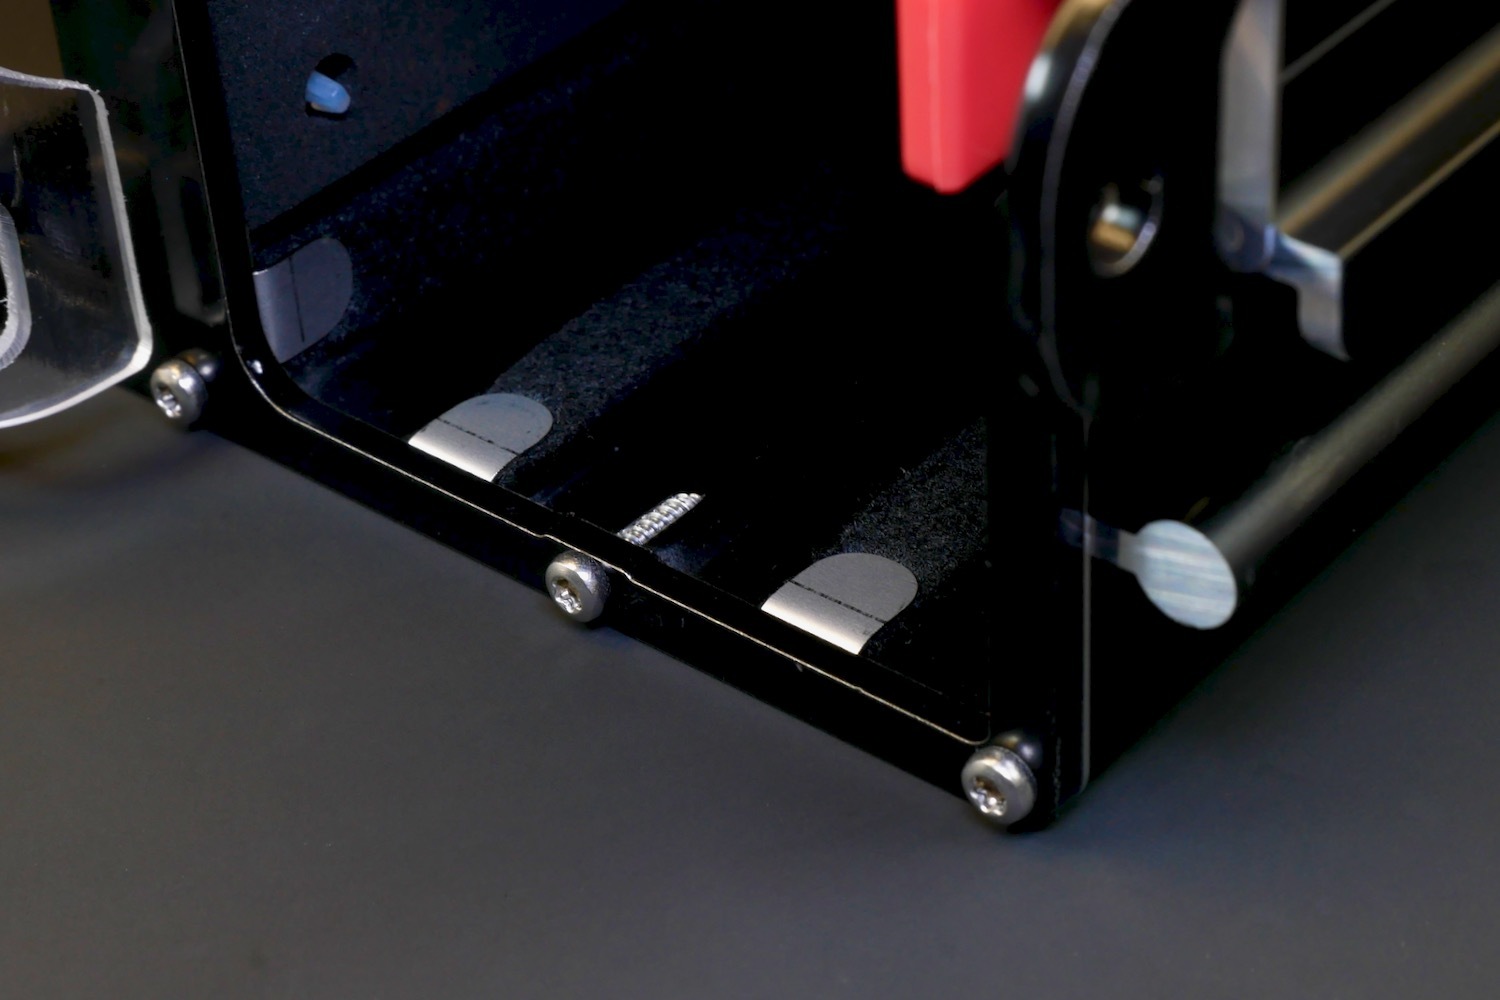
Smooth felt guidesPolyester Felt Runners allow a Fireone Module to smoothly slide into the Speedrail effortlessly and prevent damage to the module. These runners are waterproof and flame resistant. The front edges of the runners are held in place by the stainless steel retainer frame to prevent “catching” during insertion. |
 |
 |
Keep wires organised
With the use of more compact and pluggable ignitors you can keep your panel tidy and organised. The Sliding Lid has 3 openings at the front so you can bunch and orientate your wires as needed for each particular set up. |
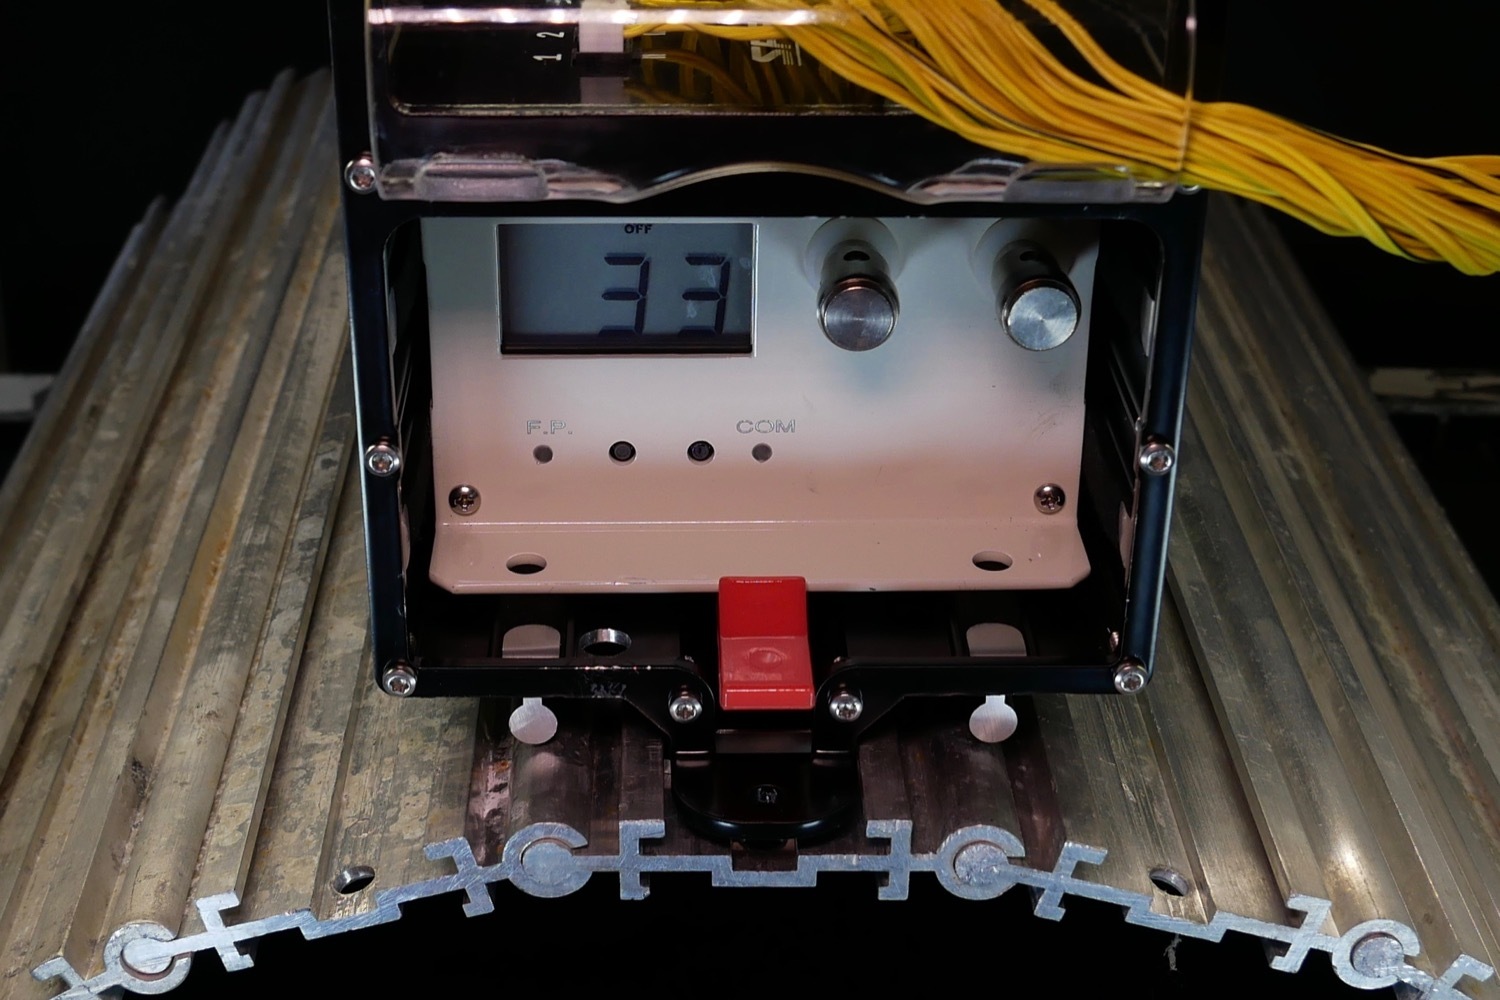
Attach to PyrolamasThe Speedrail can be attached to a Pyrolamas rack system, In particular, a small arch set up, you can slide the Speedrail on top of the arch in any rail, or even inside the arch, which makes for very compact setups. |
 |
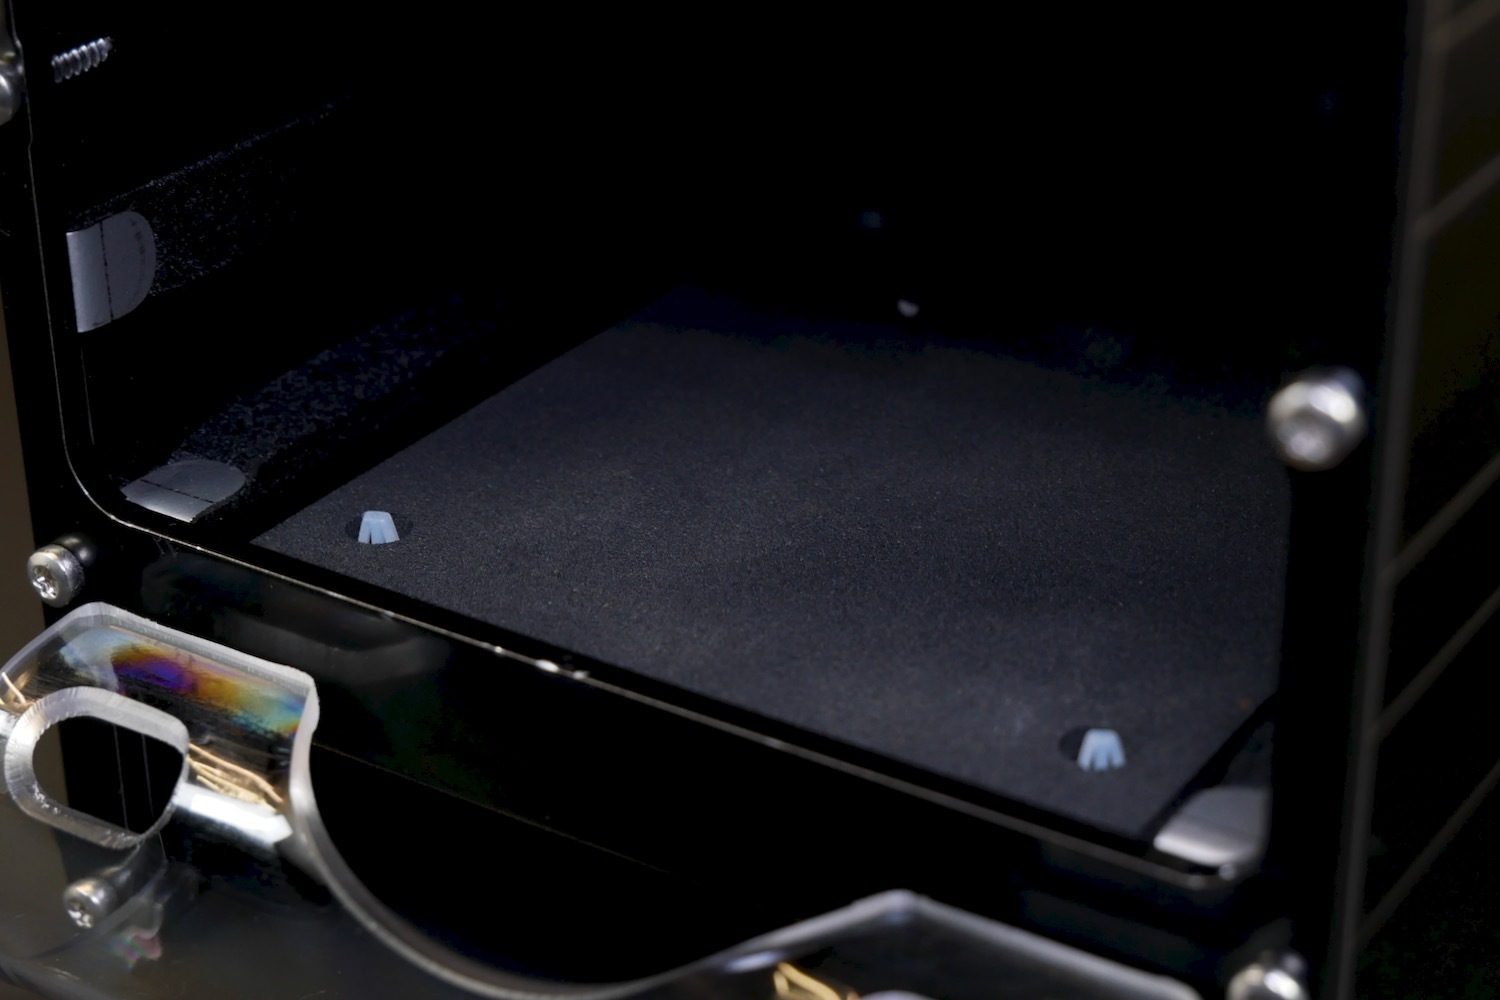 |
Protective linerIf the Speedrail is to be used in an upside down position, then the internal connector board (PCB) is protected from rain and debris by the use of a neoprene foam liner, which is flame retardant and electrically non conductive and anti static. |
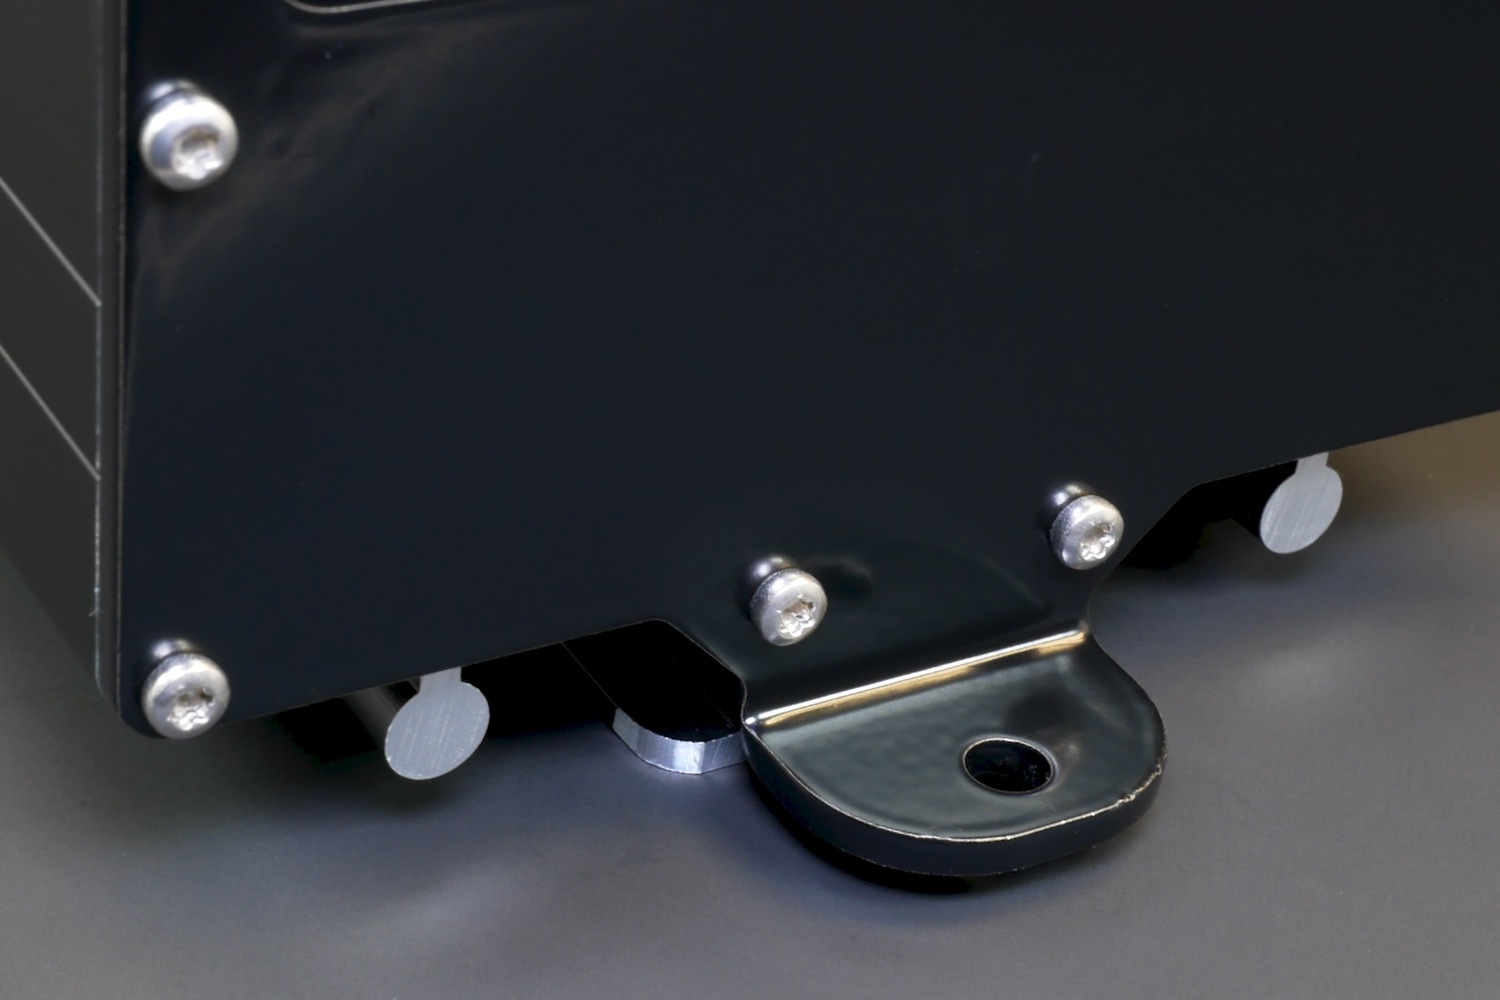
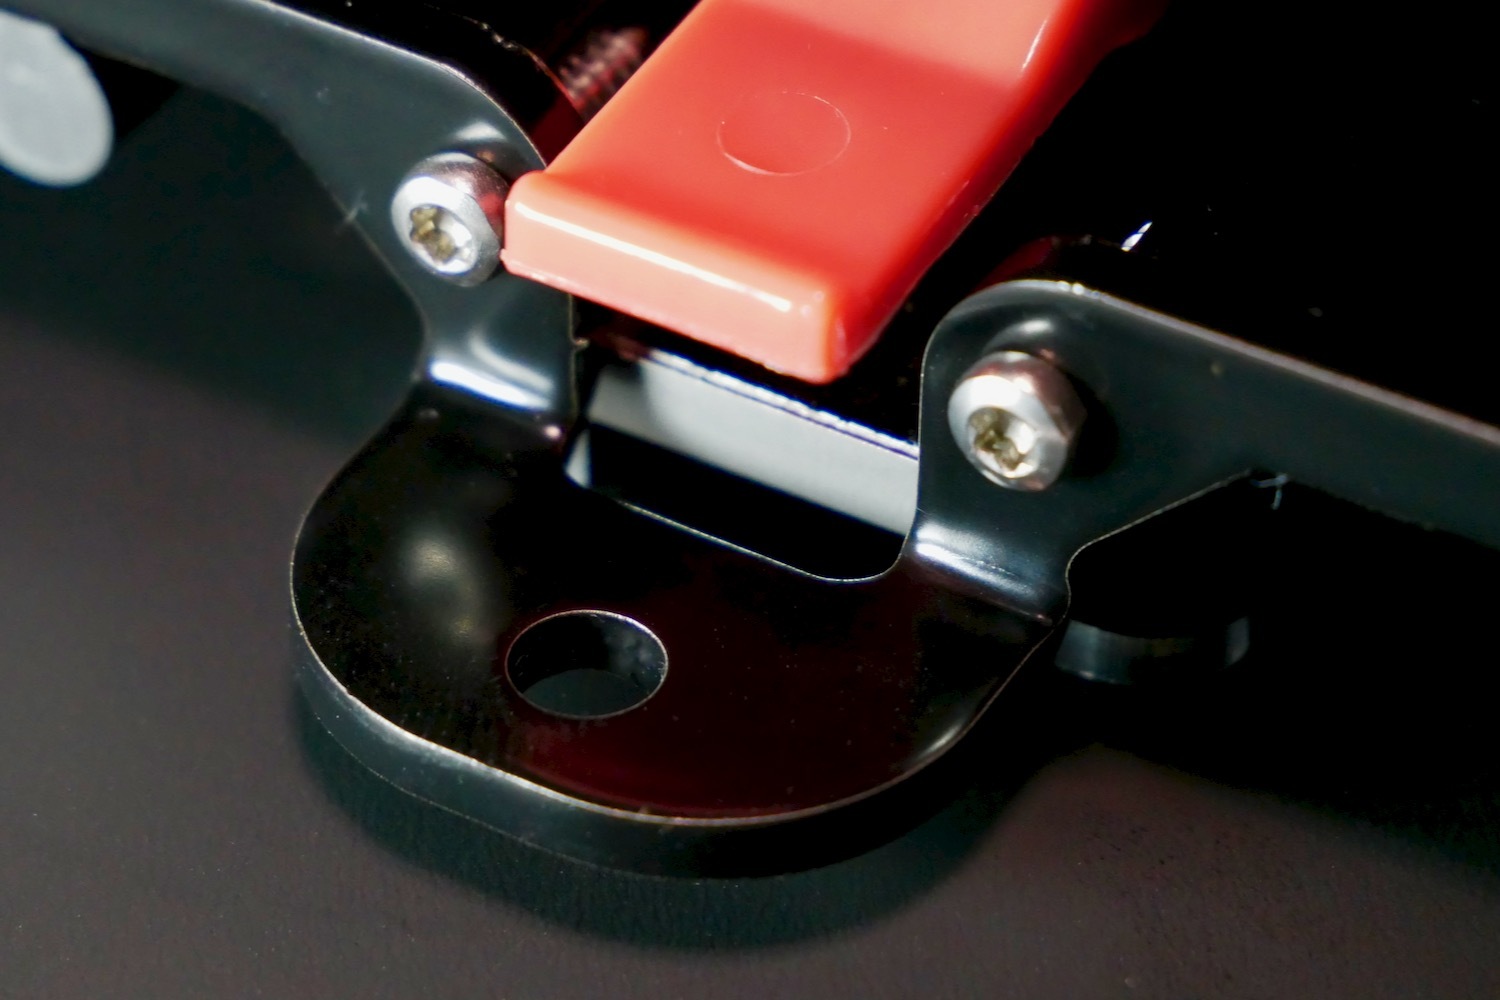
Rear tabThe Rear Tab (just like the Front Tab) Allows the Speedrail to be mounted via screws to anything you like, such as wooden racks, or to hold in position via a locking pin to a Pyrolamas rack. |
 |
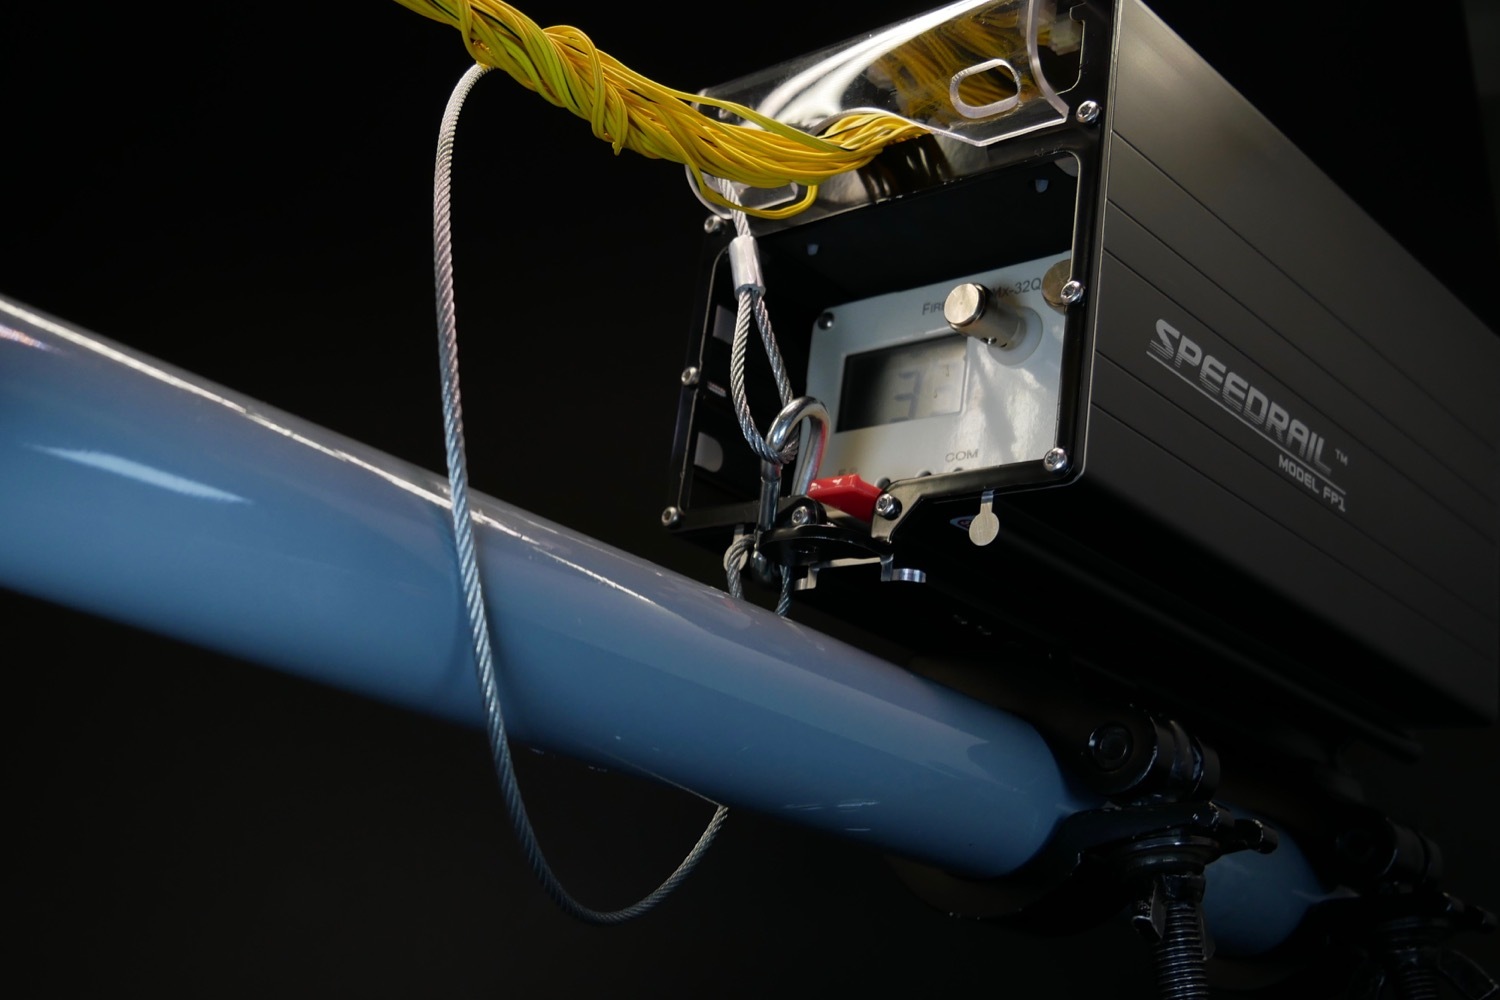 |
Safety cableThe Speedrail can be used on trusses. Holes are provided for an additional Safety Cable which passes through the Main Body as well as the Sliding Lid. |
Front tabThe Front Tab (just like the RearTab) allows the Speedrail to be mounted via screws or clips to anything you like, such as wooden racks, or to hold in position via a locking pin to a Pyrolamas rack. |
 |
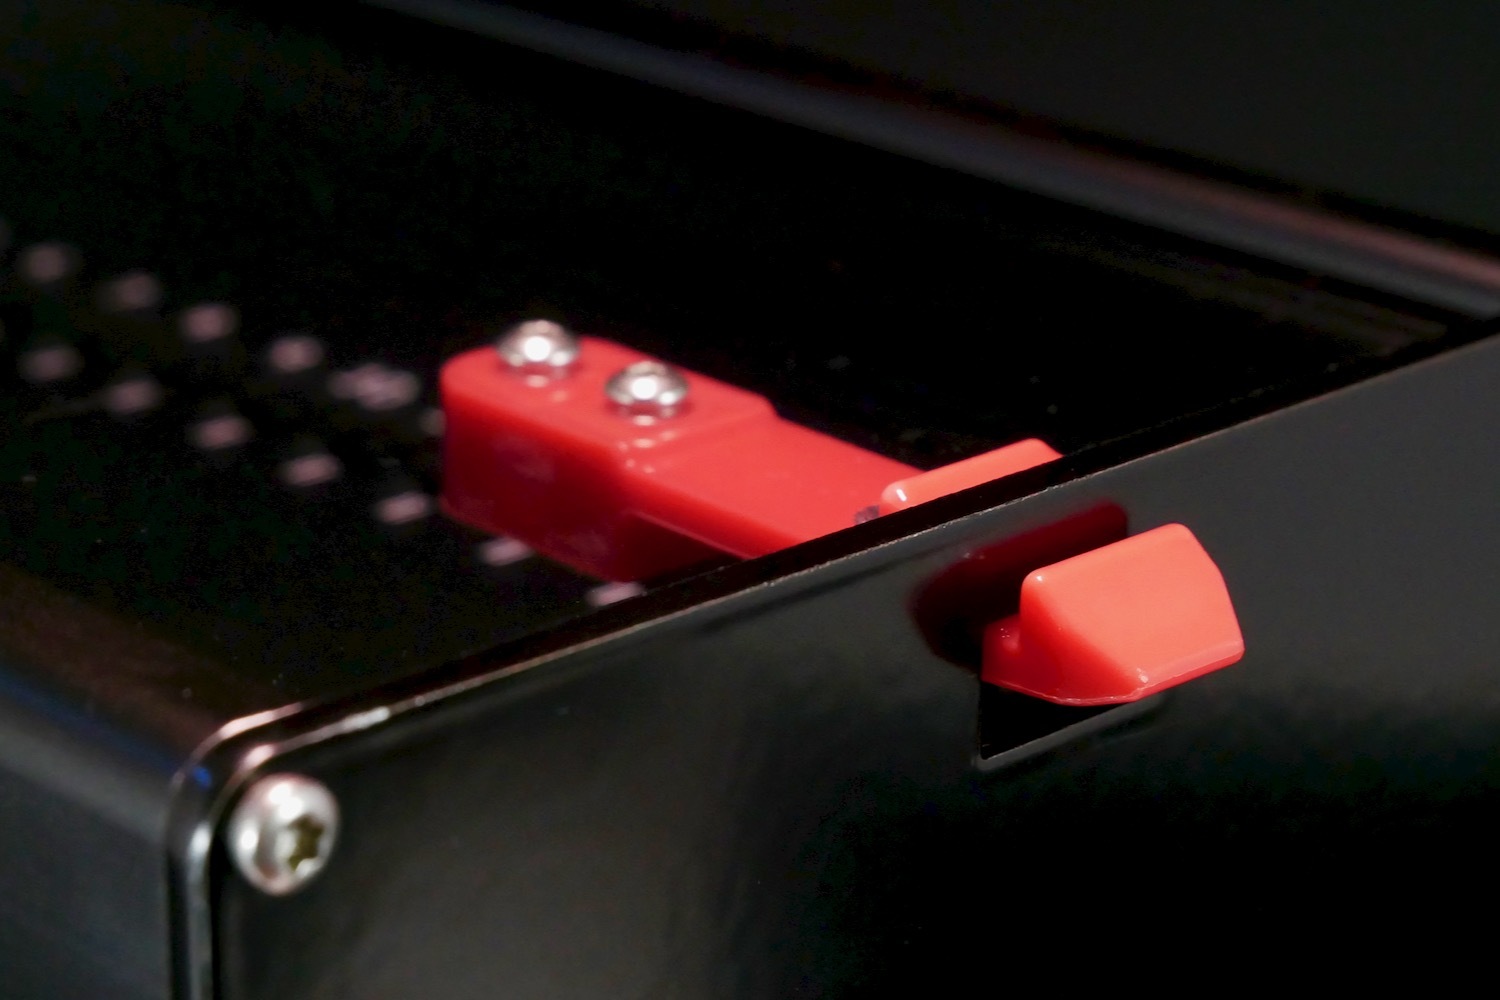 |
Back latchThe Sliding Lid attaches via a simple latch which holds it in place. You can completely remove the sliding lid during setups. To open, simply press on the red protruding end of the Back Latch and it will pop open. To Close, simply slide the lid all the way in until it clicks into place. |
